Obsidian + MCPVault

Obsidian has always been my go to tool for capturing notes and doing research. The management of tags, links and content formatting was something I simply endured. Then came along MCPVault. A MCP server that integrates one or more of my Obsidian vaults with an AI agent.
It can read my vault notes, create notes and append content. My research literally flows; I can simultaneously dig for details and summarize topics. Ingesting of content is simplified and linking is friction-less with existing Obsidian vault content. Claude automatically adds frontmatter to my notes and creates internal links on the fly. MCPVault provides the automation plumbing.
I am not alone in coming to this realization. Andrej Karpathy's LLM Knowledge Base post on X describes a similar experience. The AI Maker on Substack expounds on Karpathy's post. Their approach does not leverage MCPVault. Instead, it's based on a set of skills files and Obsidian's native CLI. The skills are hosted on github.com/kepano/obsidian-skills. MCPVault uses a combination of Obsidian CLI commands and its own features.
The combination of Obsidian and MCPVault has hyper-accelerated my subject discovery process. And having the ability to summarize, refine and test my understanding by interacting with Claude accelerates my rate of comprehension.
I've been researching Quantum computing with a focus on Hybrid Quantum-Classical Computing (HQCC). It's a mind-bending topic. Combining AI with Obsidian enables me to efficiently gain insight into the infrastructure and computation challenges translating from the tensor-based world of quantum with classical bits and bytes. And, to refresh my linear-algebra skills.
It's helping with software design, too. My previous experience with Specification Driven Development (SDD) left me wanting a digital canvas to explore ideas and design approaches. Creating notes with embedded code snippets in Obsidian helps crystalize the project priorities, design and steps. Giving my project enough structure before embarking on casting the concrete features and requirements in a SDD document.
To unlock all this technical wonder, be sure to read the installation instructions on mcpvault.org.
I am running Claude Desktop on Windows 11 and encountered a few installation quirks. I explain how to resolve them in the steps below:
Problem 1: Finding and Editing the Claude Desktop Configuration File.
- From the Claude Desktop client, select the File>Settings.
- Then, navigate to the bottom of the left side of the Settings page and select Developer.
- Click the Edit Config button near the top of Developer page. A Windows dialog box will open and the "claude_desktop_config" file will be automatically selected. Before taking any action take note of the file path.

Problem 2: Getting the pathname syntax correct and command syntax.
- Choose a text editor that is JSON aware. Notepad++ with the JSON Tools plugin installed is suffice. Open the claude_desktop_config file. I had to modify the JSON configuration as shown below:
{
  "mcpServers": {
    "obsidian-default": {
      "command": "C:\\Program Files\\nodejs\\npx.cmd",
      "args": [
        "@bitbonsai/mcpvault@latest",
        "/User/... path to your vault goes here"
      ]
    }
  },
  "preferences": {
    "coworkScheduledTasksEnabled": true,
    "ccdScheduledTasksEnabled": true,
    "sidebarMode": "chat",
    "coworkWebSearchEnabled": true
  }
}
The command string requires a combination of backward slashes and backward slash escape characters. Use forward slashes when entering the vault path as part of the args.
Problem 3: Restarting Claude Desktop
- Navigate to the Windows systems tray and select the chevron icon to view the available systems applications. Right-click on the Claude icon and select Quit. Simply exiting Claude desktop does not force the reloading of the JSON configuration file.
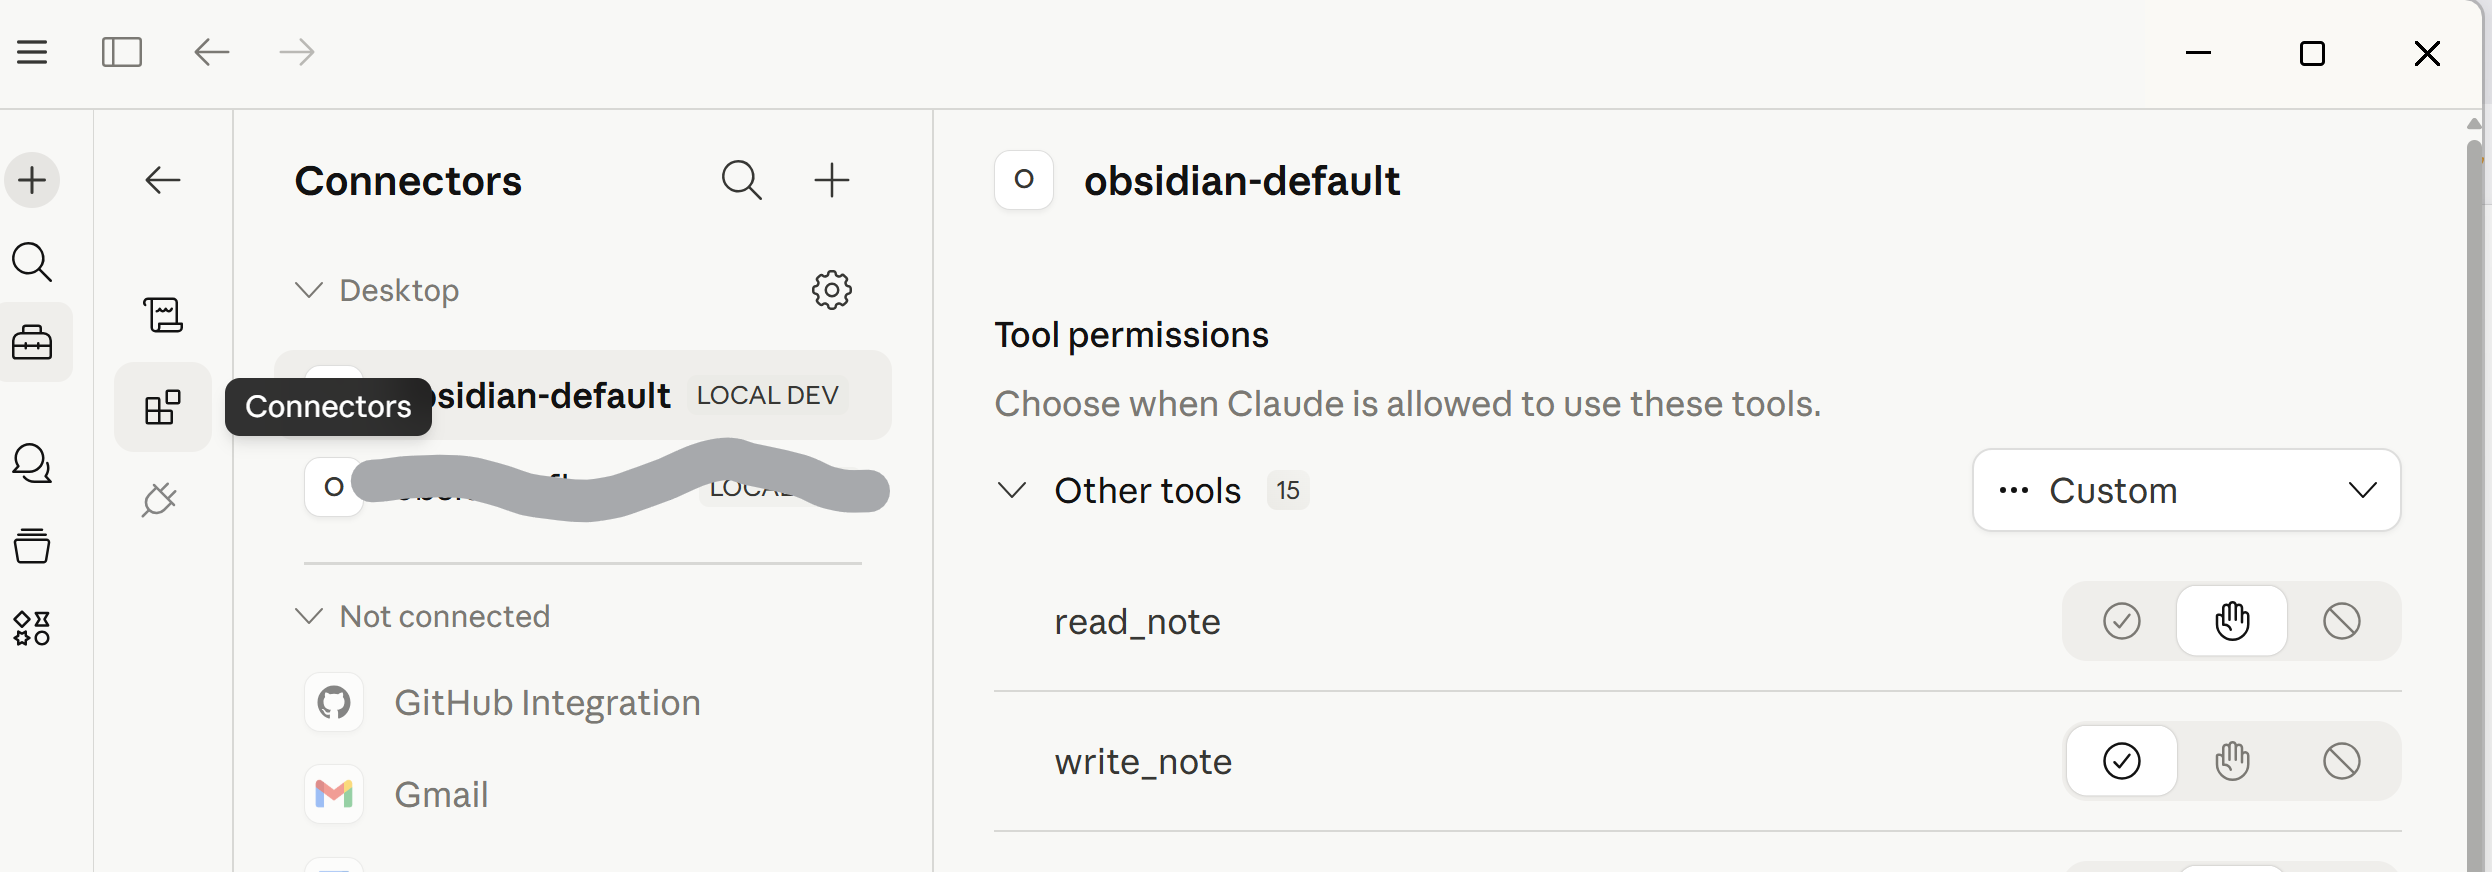
- Launch Claude and navigate back to the Claude Settings. Select the Developer option. The MCP server should be shown similar to below:
Problem 3: Installing the skills file.
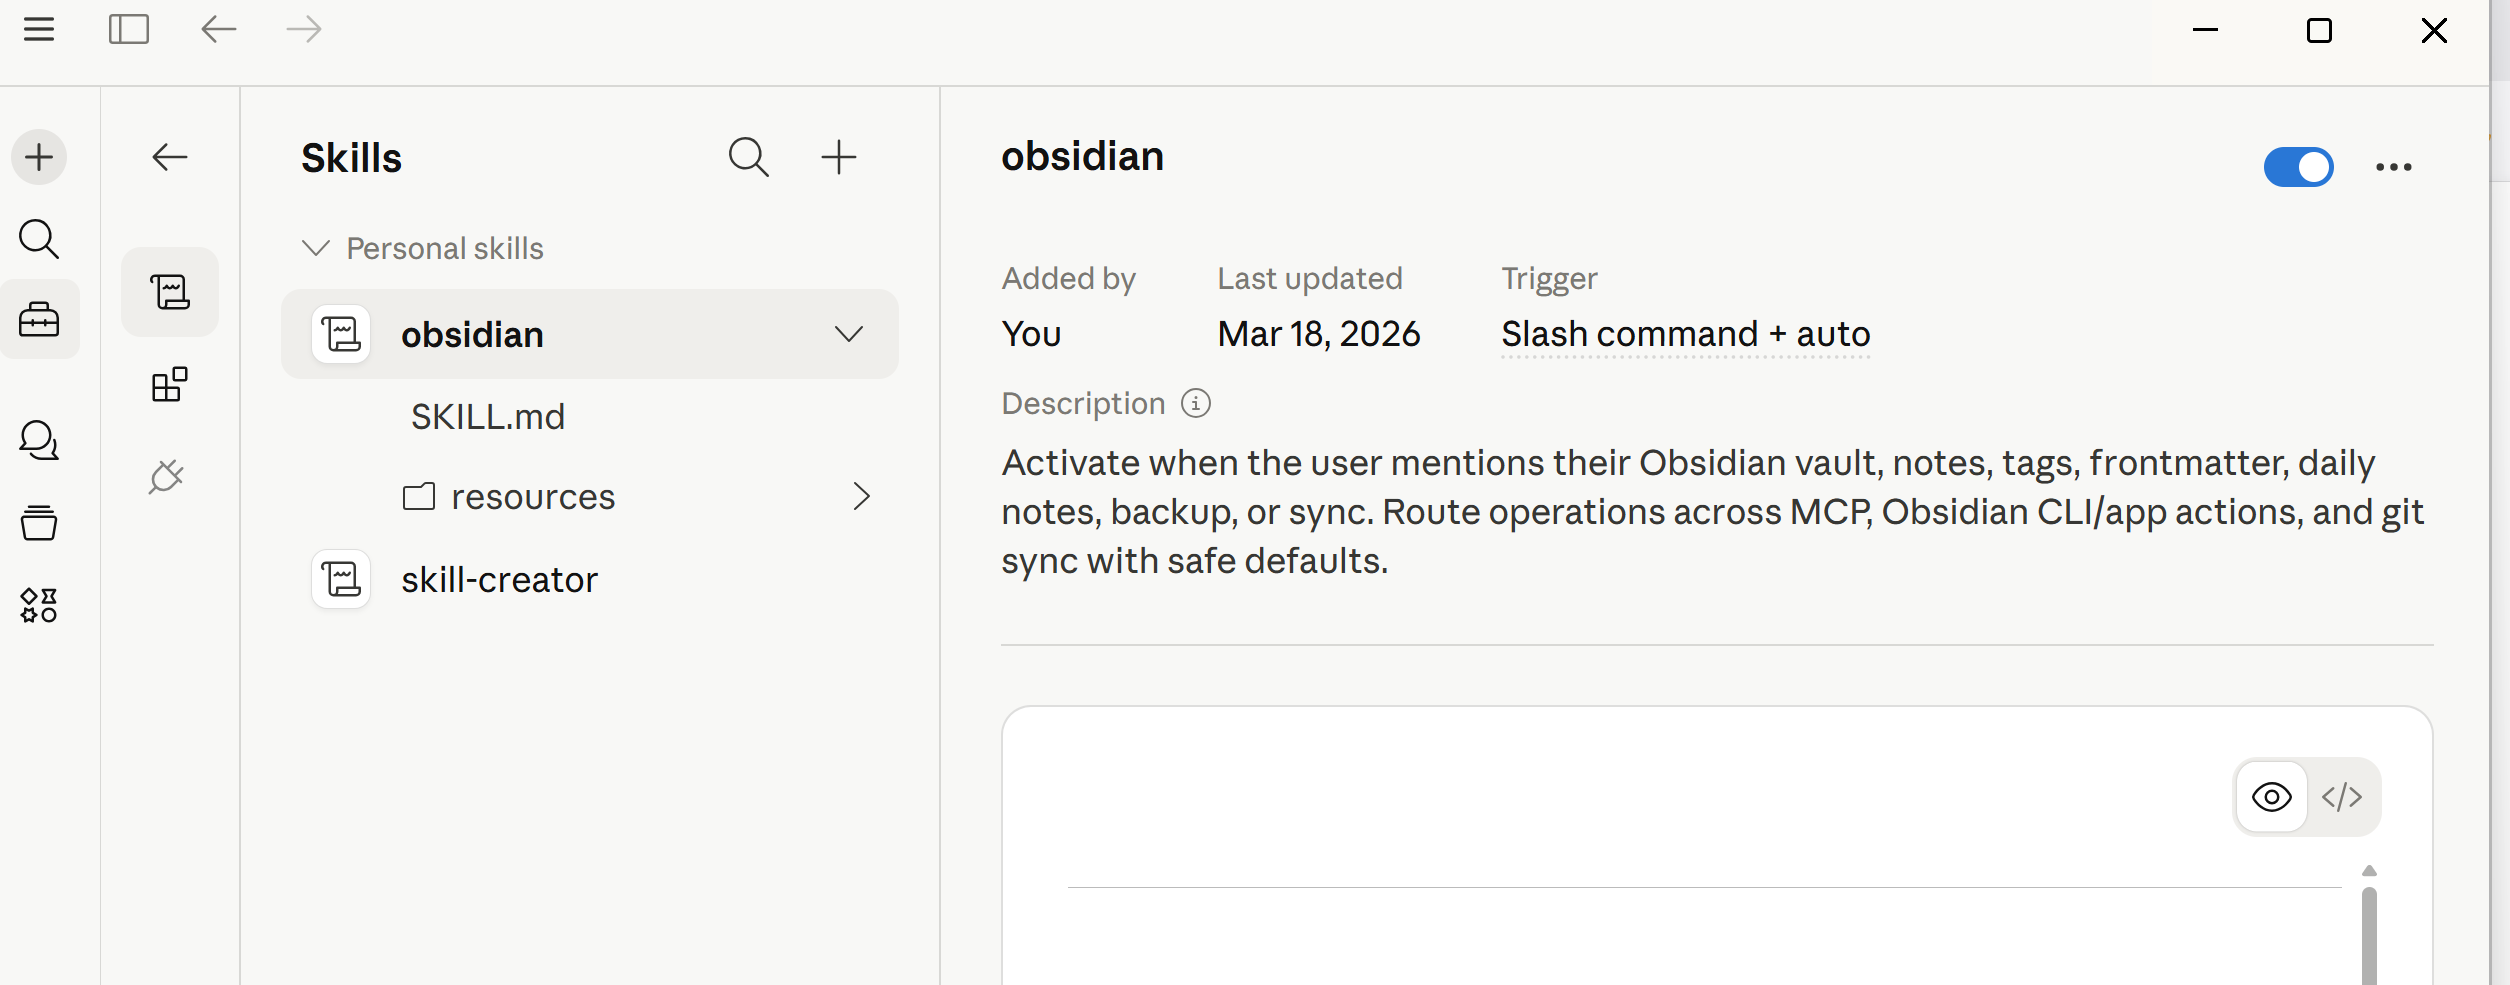
Claude Desktop requires Skill files be archived to a Zip file and uploaded. And, yes, you need these Skills files. Once the skill files are uploaded, the skills will be listed as shown below:
- You can download the skills using the command: npx skills add bitbonsai/mcpvault. Having prior experience with skills.sh will help in managing where the files are installed. Alternatively use the provided Zip file.
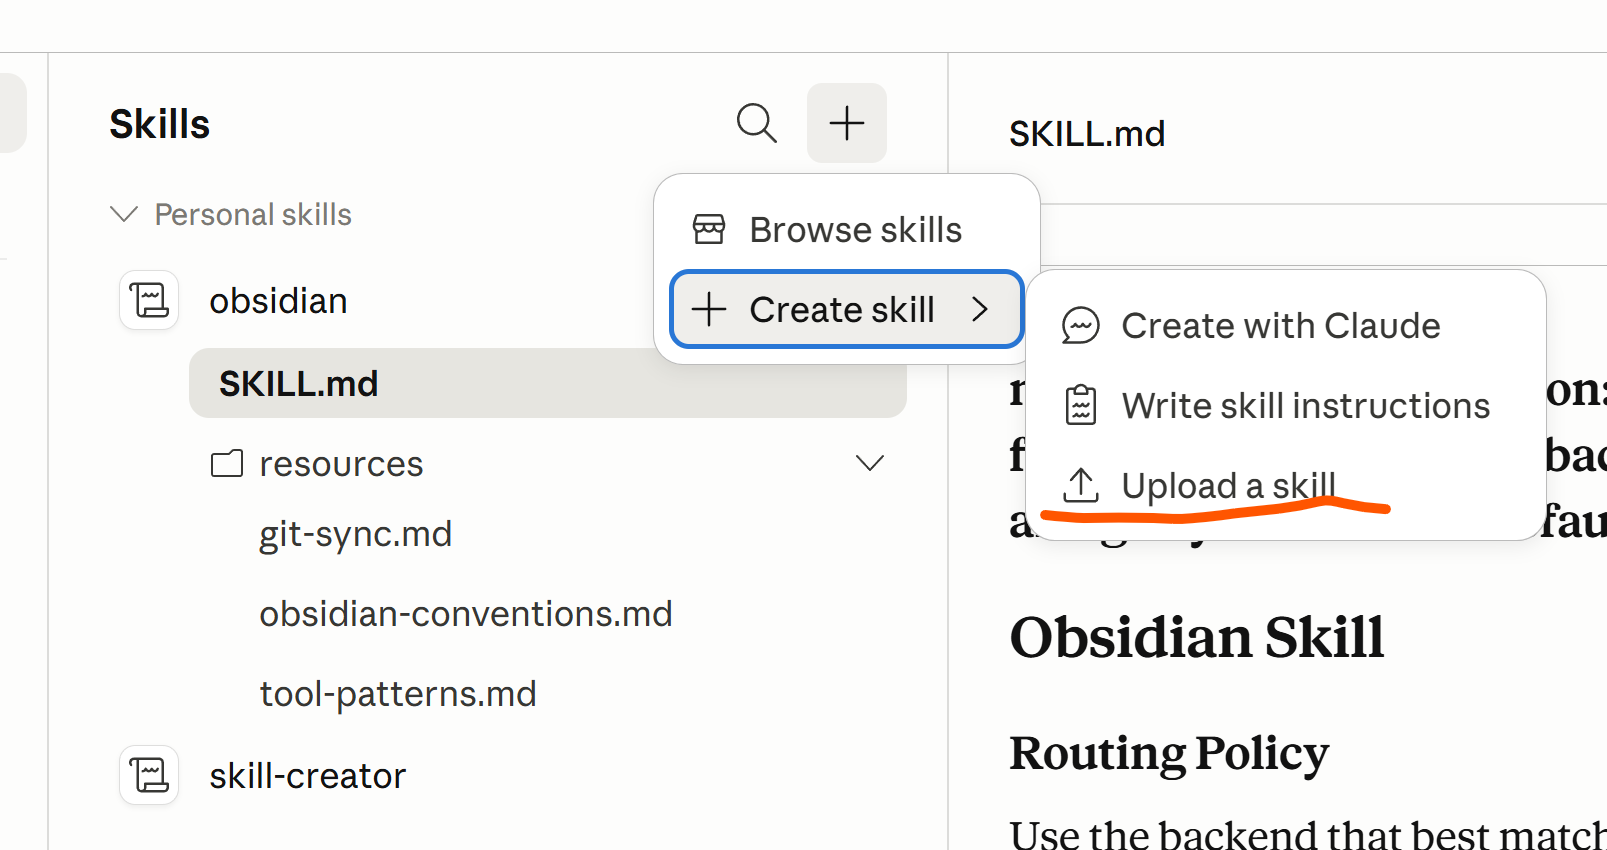
- Download the Zip file then upload it as shown below.
Now tinker around with Claude prompts. Be sure to include trigger words in your prompt that exist in the front matter of the skills. Otherwise the skills will not trigger. I typically use "vault" or "note".
Do you feel it? Your getting smarter already.